

How To Adjust Blogger Blogs With Image
Themeisle content is free. When you purchase through referral links on our site, we earn a commission. Learn More
Are you including blog images in your WordPress posts? Years back, it was normal for blog posts to just be text. But these days, your posts need some visual imagery to really stand out. For instance, BuzzSumo found that articles with images every 75-100 words got shared more often than those with fewer images.
But here's the problem:
Not everyone is a designer. So how can you create beautiful blog images for WordPress if you're not familiar with any of the professional tools? The answer is: with something called Canva. And in this post, I'll show you exactly how to use Canva to create gorgeous images for your blog posts.
What is Canva?
Before we get started, I should probably give you a quick introduction to Canva. It's a cloud-based design tool that makes design accessible to pretty much anyone. Think of it as Photoshop…but without the massive learning curve (and depth of features).
With Canva, you can create blog images for WordPress in minutes, even if you're not a designer. That means you don't need to fear adding another time-consuming task to your list. Once you learn the basic tricks, you can create blog images without adding to your workload.
How to use Canva to create blog images for WordPress
Before getting started, you'll need to sign up for an account at Canva. It's 100% free to create an account, so don't worry about any surprises. Once you've signed up and logged into your account, you can start creating your blog images by following these instructions:
Step 1: Create your canvas (AKA choose your image dimensions)
Canva includes presets for a variety of image sizes, including blog post images. BUT, that's not what you should use. Instead, you should click on the More button and scroll down to the Facebook ad option at the bottom of the screen:
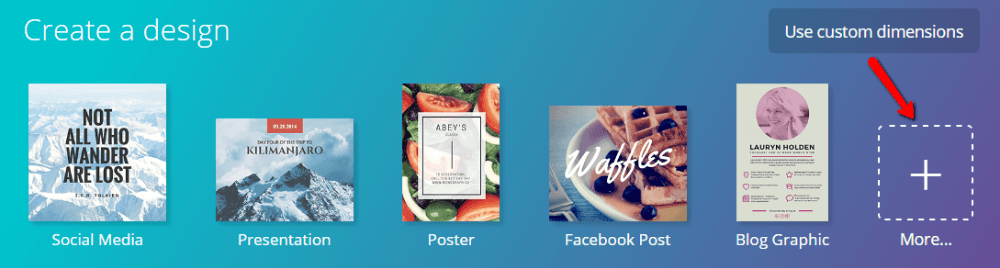
I know, I know. You're creating a blog image – why choose the Facebook ad option? Because, with this option, your blog posts will look awesome both on your blog AND when they're shared on social media. You don't have to use it, but I think it's the best.
Step 2: Choose your preset style
If you want, Canva lets you create your blog images for WordPress from scratch. But, that's normally a waste of time because they already include lots of gorgeous presets made by professional designers. So, I recommend you pick one of these presets from the sidebar:

Just make sure it has the FREE designation – as some layouts require payment.
You don't need to worry about the background because I'll show you how to change that in the next section. You should just focus on the text style and general aesthetic.
Step 3: Choose your background image
Due to copyright law, you can't go around just grabbing any image for your background. You're only allowed to use images with the proper licensing. Rather than digging into the legality of Creative Commons licenses, I'll just tell you exactly where you can find free, legal-to-use background images:
- MyStock.Photos – MyStock.Photos is a free image repository built by the Themeisle team themselves. Everything under the CC0 license.
- Pixabay – Pixabay has a great search function. So if you need a specific image, you should check here.
- Unsplash – Unsplash features beautiful landscapes. They're good for general backgrounds, but not specific topics.
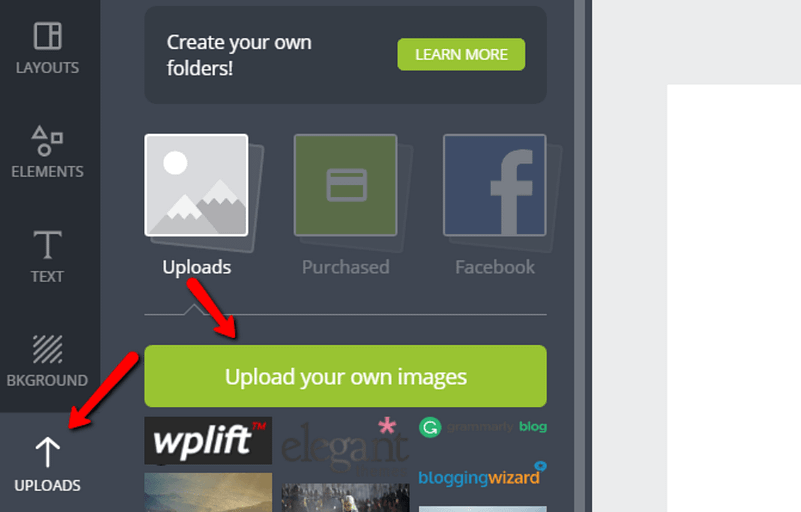
Find an image you like and download it. Then, upload it to Canva by clicking on Uploads → Upload your own images:
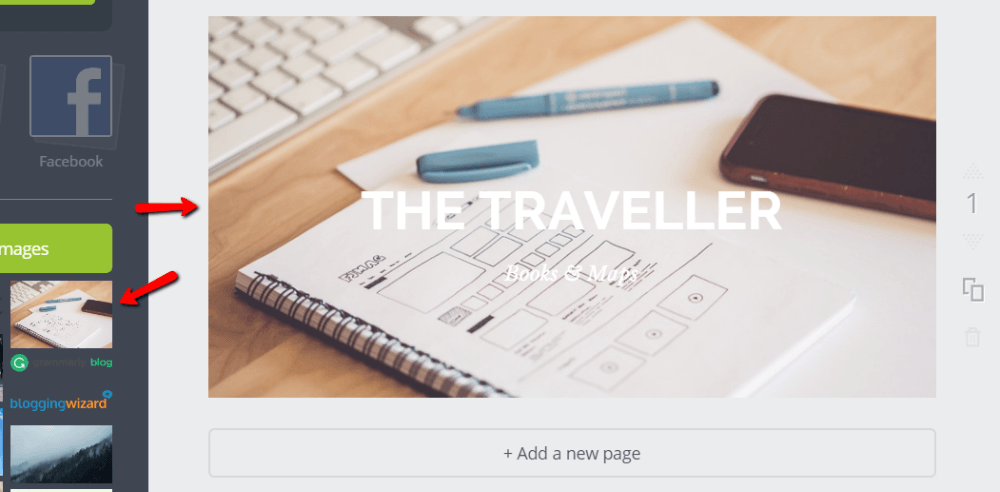
Once it's uploaded, simply drag it over to your design canvas to make it your new background:
If you want to change the style of your background image, you can add an image filter by clicking on your background image and selecting Filter at the top:
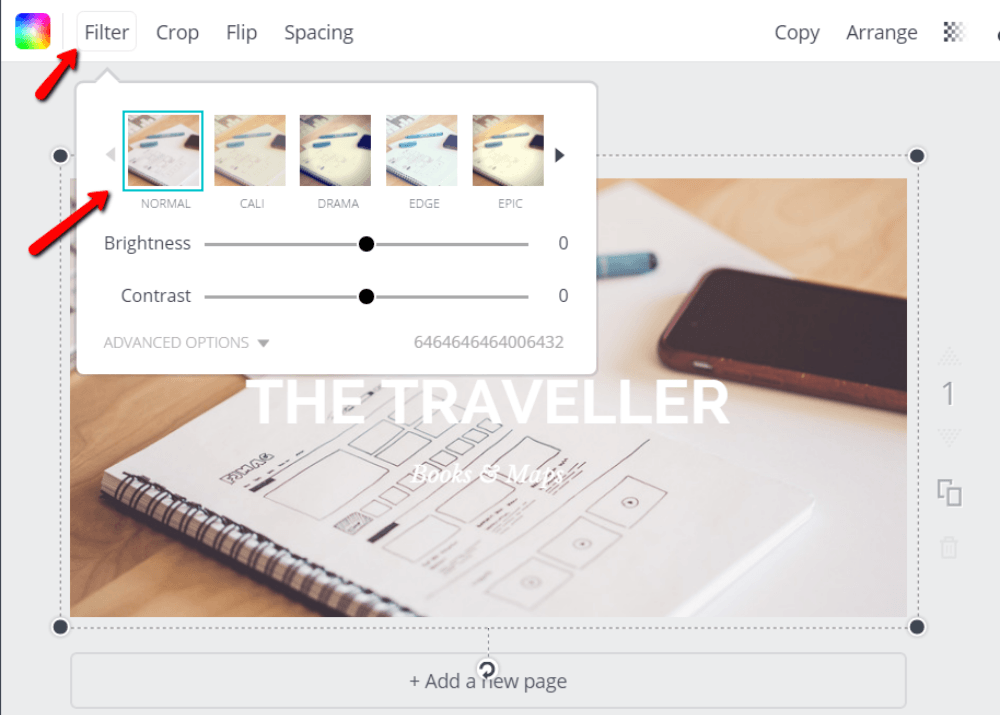
Once you're happy with how the background looks, you can move on to your text.
Step 4: Add and style your text
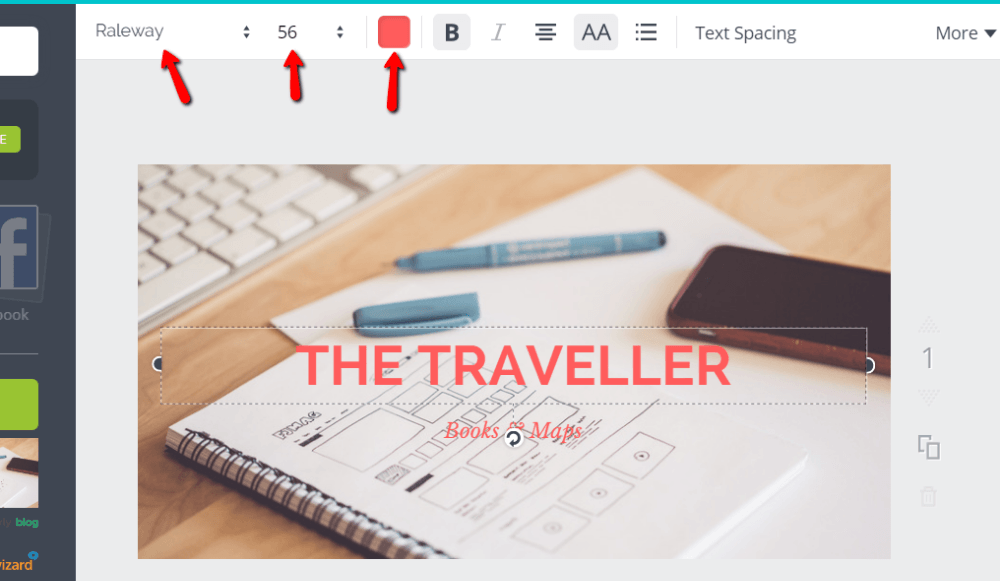
If you chose a preset layout, you should already see some placeholder text. You can edit this text by clicking on it and typing.
If you want to change the font style, size, or color, you just need to choose from the options at the top of the page while you have your text selected:
If you want to add additional text, you can do it from the Text tab on the left:
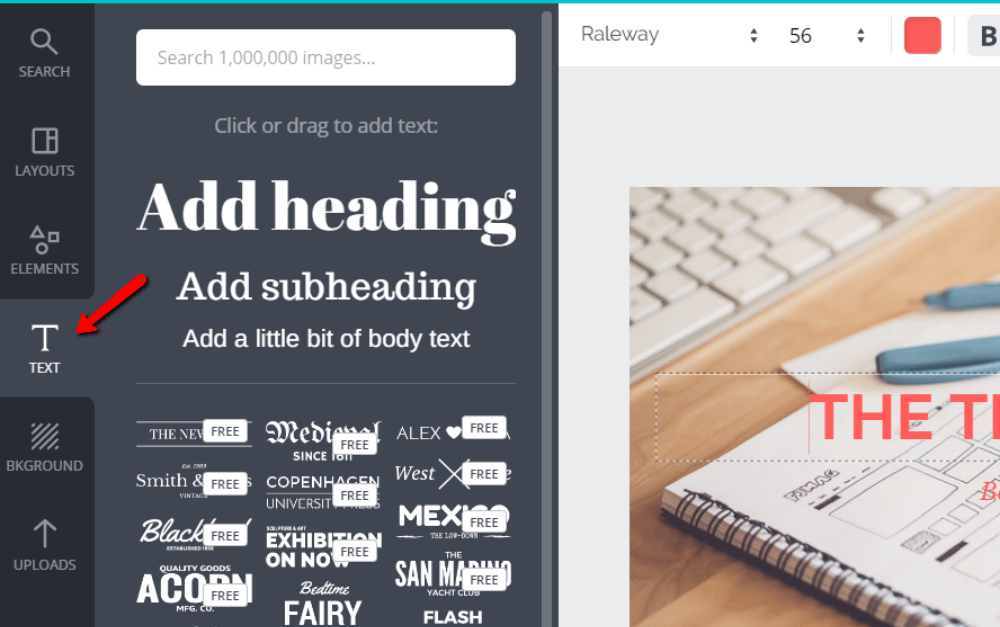
When creating impactful images, it helps to have two fonts that go together well. Canva does a pretty good job of suggesting these pairings. But if you want to create your own font pairing, Font Pair is a really helpful tool. Joe also wrote a helpful post on WordPress typography with some ideas.
Step 5: Add an overlay to make your text pop (optional)
This isn't a requirement, but if your text is difficult to read, you may need to add a transparent image overlay to make things look nice. You also just might like the style – many successful bloggers use transparent overlays for their blog images.
To do add a transparent overlay with Canva, go to Elements → Shapes and drag your desired shape to your background:
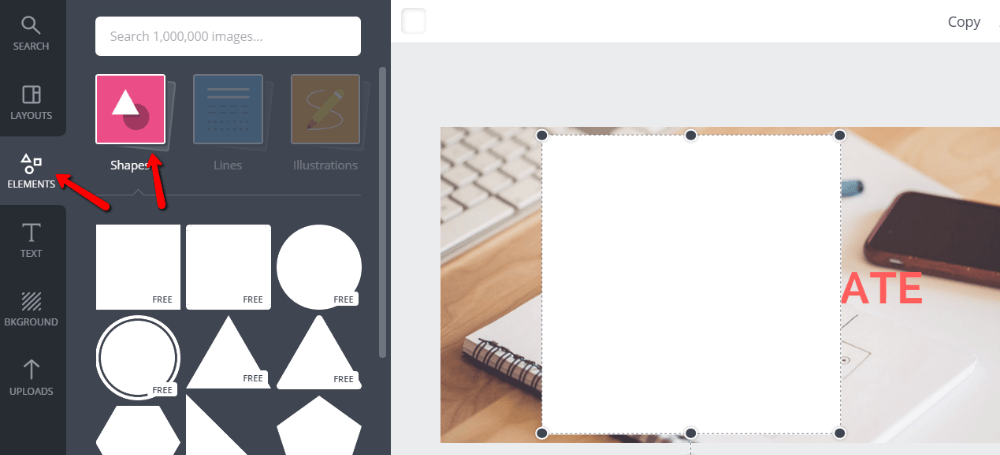
Then, you need to choose a color and make the shape transparent. If you don't add transparency, the shape will just cover up your background. No good! So, add some transparency by clicking on the shape and finding the transparency button:
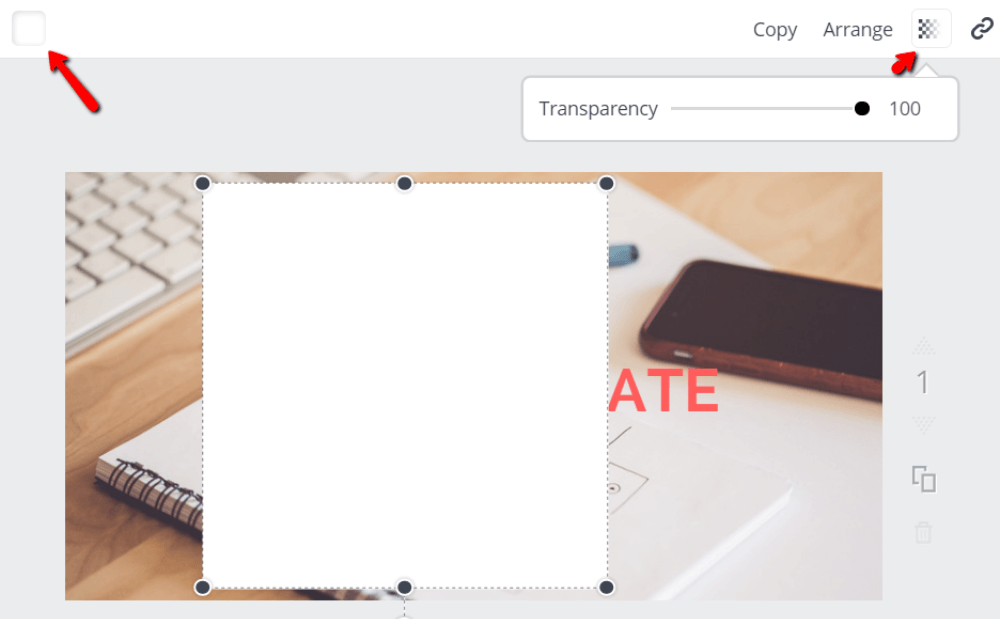
50% is usually a good place to start with transparency, but you can adjust to your preferences.
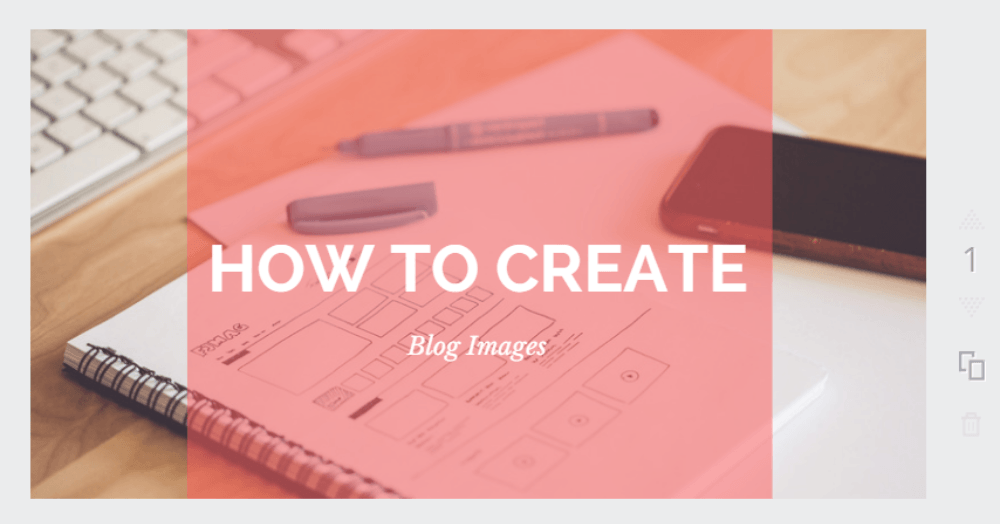
Then, you just need to resize the shape so it fits behind your text and you should get something like this:
Step 6: Add and style elements (optional)
Finally, if you want to add some non-text elements to your design, Canva includes a whole library of elements. Not all of them are free, but you can usually find a free version of the element you need.
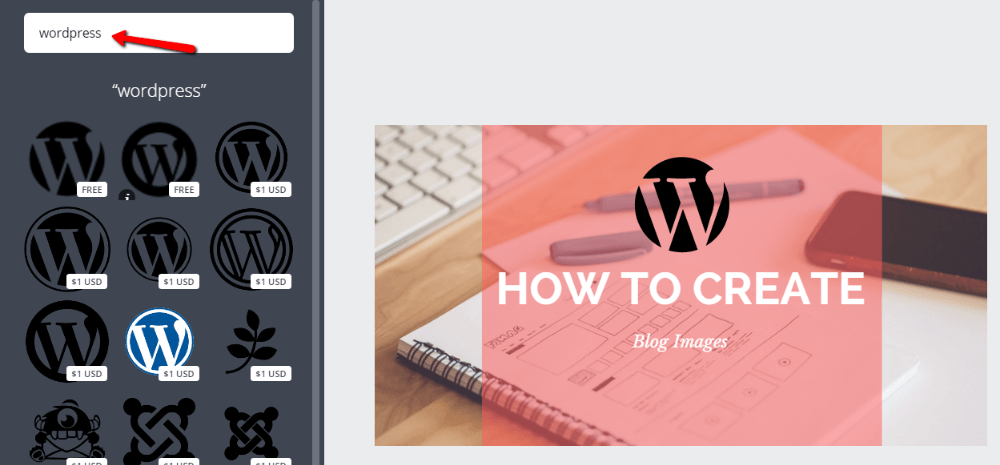
For example, if you wanted to add the WordPress logo to your image, you would just search for WordPress and drag the element onto your design:
You're certainly fine to ignore this step, but there are situations in which vector elements are a nice touch.
If you want to add you're logo or watermark, you can upload an image of it like you did with your background and then drag it onto your canvas.
Step 7: Download your image
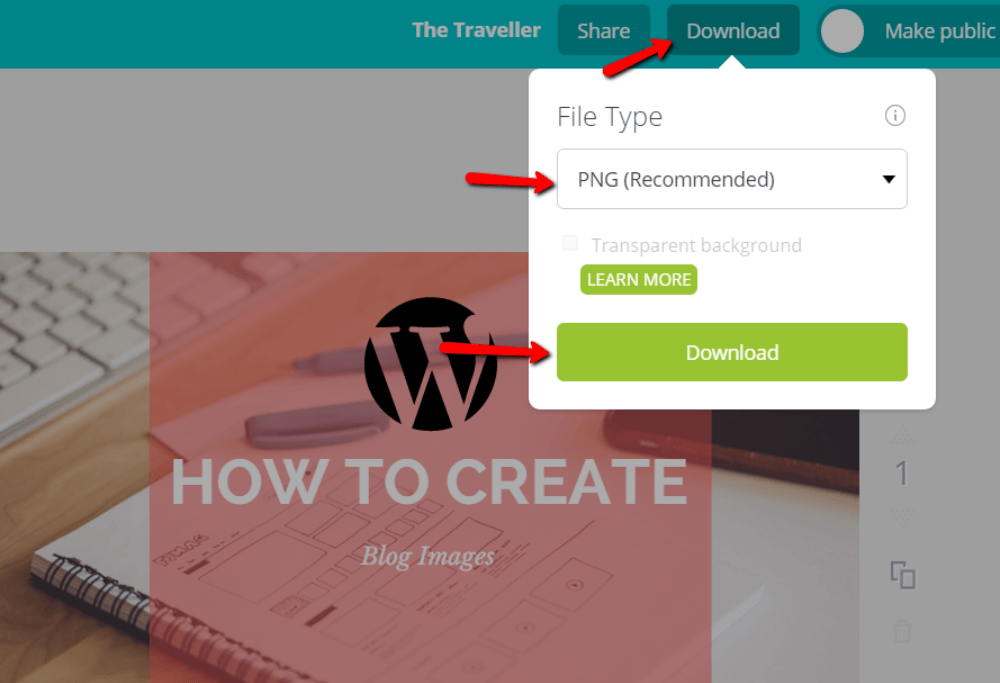
That's it! You're done. You just created an awesome blog image. Now, you need to download your image by clicking on the Download button at the top of your screen and choosing the default .PNG:
Upload that file to your WordPress site and make sure to optimize it. Then, sit back and enjoy the beautiful blog image you just made.
Once you get the hang of Canva, you'll be able to create images like this one incredibly quickly. These blog images for WordPress will make your posts more engaging and shareable, which is a win for everyone!
What do you think? How do you go about creating blog images for WordPress currently?
Free guide
5 Essential Tips to Speed Up
Your WordPress Site
Reduce your loading time by even 50-80%
just by following simple tips.
Download free guide
How To Adjust Blogger Blogs With Image
Source: https://themeisle.com/blog/blog-images-for-wordpress/
Posted by: huntthiskes.blogspot.com
0 Response to "How To Adjust Blogger Blogs With Image"
Post a Comment